

Friday Night Lights: Growing Wheatgrass for a Football Party
It's that time of year—time for Friday night highschool football! This past weekend I lent a hand to my alma mater and helped decorate for a dinner before the Friday night Homecoming game. Decorating a gymnasium for 500 people, with a limited budget and some key restrictions was a challenge but I think it turned out adorable!

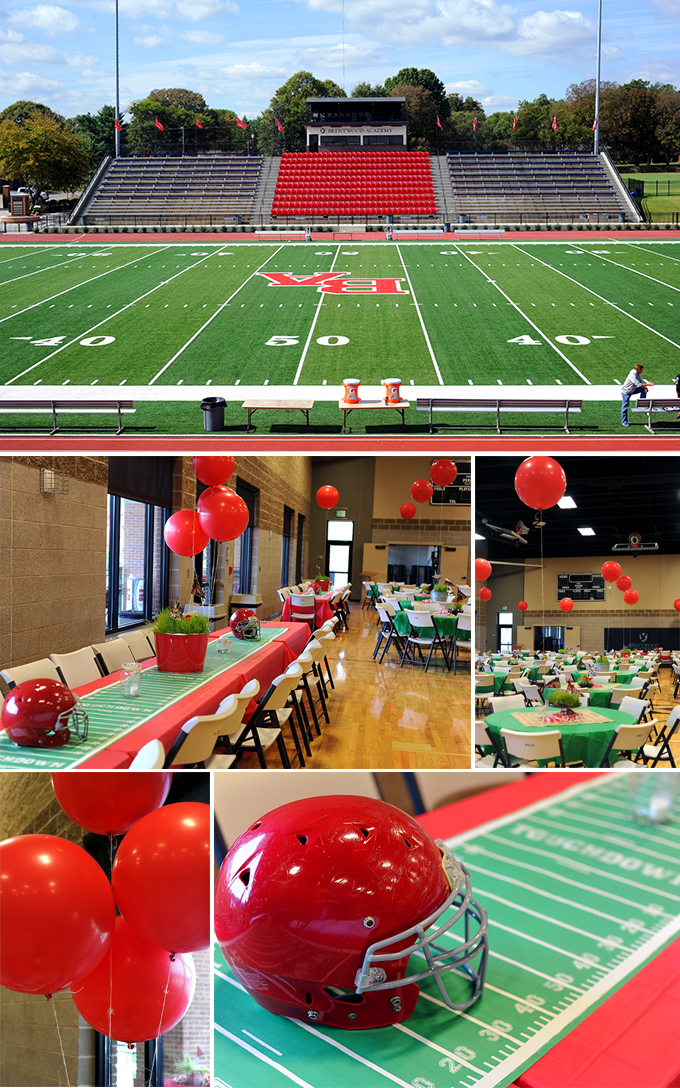
Brentwood Academy just completed construction on their stadium renovation (new turf, track, and bleacher upgrades). Homecoming game was only the third home game on the field so this was a great game for a huge crowd to really enjoy the new accommodations.
While the annual Homecoming dinner is usually decorated like a fall festival (you know how much I love fall), I really wanted to go in a completely different direction and celebrate the new field. That inspiration led the entire design of the dinner's decor.

We were required to use the school's existing tables and chairs and I also had to use plastic table clothes (yuck!) so they could be wiped down in-between seatings. We saved by using the school's existing containers for centerpieces (glass bowls, galvanized buckets, even glass cake stands) and we were required to celebrate the classes of the 70's.
We pulled all color inspiration from the football field—green from the grass, white from the lines and red from the school colors. We covered the round and rectangular tables in green and red tablecloths (no, it did not look like Christmas) and topped them with these great football field table runners from Hester & Cook (I LOVE sourcing local products). Giant three-foot red balloons floated over each table and were tied to centerpieces filled with wheat grass that were decorated with pennants made of class photos from the 70's.

I got a lot of questions about where the wheat grass came from—which I actually grew in my basement ... all 45 containers! I thought that I would give you a quick little how-to so you can DIY for your next party (I can't wait to grow some for Easter centerpieces).
I bought a 45 pound bag of wheat for $14 (which I didn't even use half of) from The Co-op and read online how to germinate and grow the seed. Welcome to my basement (sorry, not the most glamorous):

Here is a very basic how-to. Go to wikihow for a detailed step-by-step (there are also lots of videos online that are helpful). They will show you how to grow wheatgrass that you can eat (a lot of people take wheatgrass shots or put it in smoothies). I didn't worry about growing it organically since mine was not being consumed.
- Measure out the amount of wheatgrass you will be using. I used about a cup per container and about five cups for the wagon. Remember that a little goes a long way and that you only want to cover the dirt with a thin layer of the seed.
- I put my approximately measured amount of seed in a 5 gallon bucket (just put it in a mason jar if you are making a small amount). Fill the bucket with water until all the seeds are covered. Let sit in a cool dark place overnight (12 hours). Then begin the rinsing phase.
- You will want to rinse and drain the seeds every 12 hours for the next one to two days until you see each seed sprouting (just put them back in your bucket after draining wet but do not fill with water). Once the seeds have sprouted go ahead and plant them (if you leave them in the bucket too long they will all grow together into one giant clump - no good).
- To plant the seeds, spread about an inch (that's all thats needed) of dirt in each container. I put dirt into shallow plastic dishes (the ones that pots drain into) that fit perfectly down into my galvanized containers and lined my Red Flyer wagon with plastic. Spread a layer of seeds over dirt just to cover - like a carpet.
- Water each. Here's where I had my problem. You are suppose to drench each container with water every morning and let drain. Since I planted the grass mostly in glass containers (no drain holes) I had trouble with the water sitting in the bottom of the containers and growing mold. I would totally recommend containers that drain but it will work in glass containers too ... just get ready to go head-to-head with the mold (more on that below).
- Cover containers with newspaper and spray paper with water until damp. Cover in plastic to keep everything moist. Uncover to water and then recover and with damp newspaper until green sprouts get about a half inch high—about two days.
- Uncover and move near a window. You do not want them in direct light but just near a window with enough light to illuminate the room. You will want to water them every morning and spritz them with water every night. I began adding baking soda to my water bottle sprayer to try to battle the mold (at one point I was afraid I was growing more mold than grass—again, use containers that drain!).
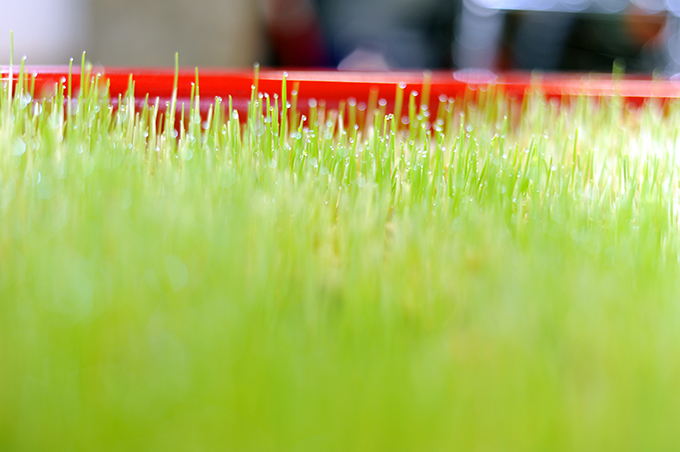
- You will be shocked at how fast these suckers shoot up! 5-7 days and it's fully grown. I planted mine way to early (two weeks before the event) so my grass was floppy and not as vibrate green as it was at day 7. It is hard to wait to plant only a week before your event but wait - it's cuter when it's really green and fresh looking!
I just picked up a small packet of organic wheatgrass seed from Whole Foods to grow in my windowsill for my morning smoothies. Growing one container (compared to 45) seems more manageable!
I can't wait to grow wheatgrass for Easter or any spring party, so festive and happy. It is great for a football party like this or one at home. Throw a football helmet from your favorite team or a football on top of it and you have a centerpiece (that's cheap and easy) that everyone will go home talking about.


